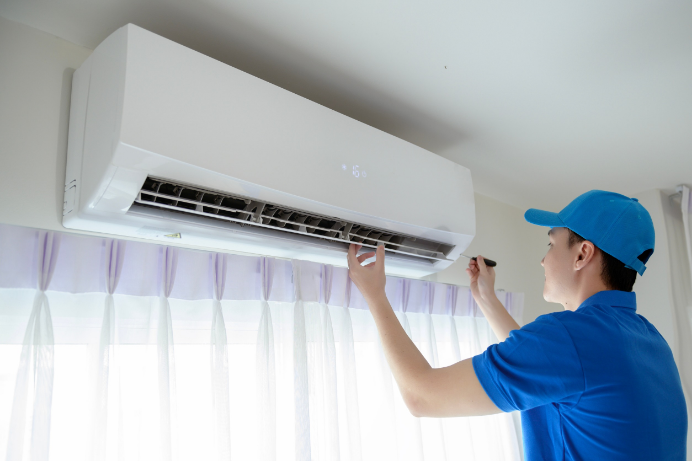
AIR-CONDITIONER INSTALLATION
To ensure optimal efficiency of an air conditioner, it’s crucial to ensure accurate installation. Every air conditioning unit is accompanied by specific guidelines that the installer must adhere to during the setup process. Incorrect positioning of a component can detrimentally impact the overall performance of the system.
As a homeowner, you deserve access to an air conditioning unit that operates effectively, especially if you reside in Singapore whose known for its warm tropical climate.
AIR-CONDITIONER INSTALLATION
AIR-CONDITIONER CHEMICAL & OVERHAUL CLEANING
REGULAR MAINTENANCE PLANS
REPAIRS AND TROUBLESHOOTING
ENERGY-EFFICIENCY CONSULTATION
DUCT CLEANING AND AIR QUALITY ENHANCEMENT

Need help with your air-conditioner?

1. Selecting The Correct Install Area
When setting up a split air conditioner, it’s important to locate a sturdy wall capable of supporting both the outdoor and indoor units comfortably. Even if the external unit is placed on a different wall, opting for a robust wall helps minimize vibrations transmitted to the structure.
Additionally, make sure there’s a gap of at least fifteen centimeters above and on the sides of the AC unit. If feasible, aim to position it at a minimum height of seven feet from the ground.
2. Ensure Level Mounting Plate And Drill An Outlet Hole
Hold the mounting plate securely against the wall where the indoor unit will be positioned, ensuring it remains level and horizontal. Utilize a spirit level or measuring tape to assist in achieving the desired level. Proceed to drill holes for the wire and pipe connections that will link to the outdoor unit once it’s installed.
3. Mounting Your Indoor AC Unit
Carefully detach the front cover of the air conditioner and begin lifting it towards the mounting plate. Make sure to thread both copper pipes through the holes that you drilled before, along with a wire and drainage pipe. Confirm that the copper pipes have appropriate bends to ensure effective cooling performance.
4. Choosing A Great Installation Spot
Ensure a minimum clearance of thirty centimeters around your outdoor unit to optimize its performance. Select a location with minimal exposure to direct sunlight and reduced dust accumulation for ideal placement.
5. Fixing Your Brackets
Once you’ve identified the appropriate installation location, start by drilling holes to support the brackets. Ensure these holes are aligned horizontally. Utilize the shipped fasteners to securely attach the brackets. Proceed to drill holes for wires, copper pipes, and drainage, ensuring they are accurately sized and positioned to facilitate a secure connection between the indoor and outdoor units.
6. Mounting The Outdoor Unit
Lift the outdoor air conditioner unit carefully and position it onto the designated bracket. Secure the unit by fastening the bracket with screws. Complete the installation by securing the air conditioner unit firmly in place using the brackets.
7. Connect Electrical Wiring Safely
Connect the electrical wiring from the indoor unit to the outdoor unit following the manufacturer’s guidelines and ensuring proper insulation and secure connections.
8. Connecting The Copper Wires
Use a vacuum pump to link the copper wires. Connect each wire to its respective pipe using the flare nuts for smooth connection. Ensure the nuts are securely closed before moving on to open the gas valves.
9. Test for Functionality
After installation, conduct a thorough test of the air conditioner to verify its functionality, including cooling, heating (if applicable), and airflow, to ensure it is working correctly.


